Clever Logger reporting engine allows you to either create a report immediately, or have a report automatically sent to you periodically. The process is very similar.
This article covers the creation of an Instant Report.
This is useful if you have had an incident and need to give someone a report.

Open the Clever Logger Dashboard.
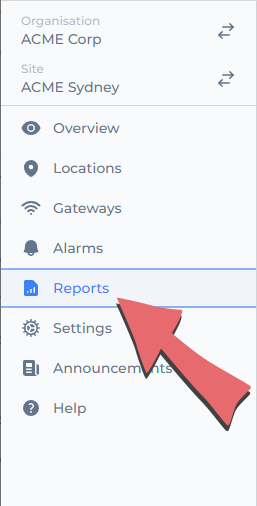
Choose Reports from the main menu.
Click on the Add Report button in the top right corner of the page.
![]()


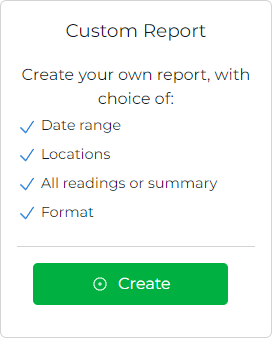
There are a couple of common presets available, but for this example, we will create a Custom Report.

There are three options here …
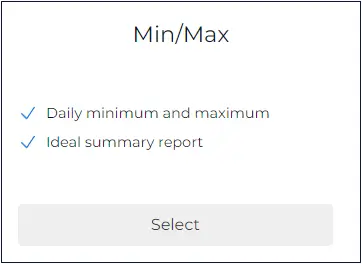
Min/Max
A simple report showing the daily minimum and maximum temperatures.
This is an “industry standard” because you can see that something complied in a very small number of lines.
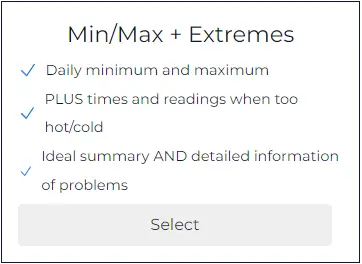
Min/Max + Extremes
The daily minimum and maximum plus a list of any out of range temperatures.
For example, you will see something like:
15/2 3.5° 12.2°
11:35AM 9.2°
11:40AM 10.3°
11:45AM 12.2°
11:50AM 8.3°
This has the benefit that the report is very compact when all is fine, and detailed when there is a possible problem.
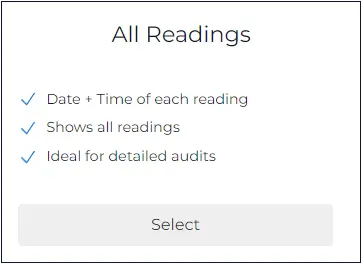
All Readings
This report will output all readings that have been recorded – by default, this will be at 5-minute intervals.
If you need to produce a report for an auditor or inspector, this is probably the best option.

You can include multiple locations in the same report. Or you can create separate reports for each location.
To select a location, click on it to place a tick next to it.


There are three options here as well …
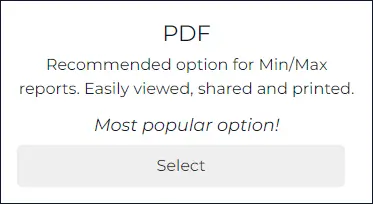
The PDF format is the most useful option. It can be easily viewed on all computers and mobile devices. It can be printed on a standard piece of paper. It can also be easily shared with others.
If in doubt, go with PDF.
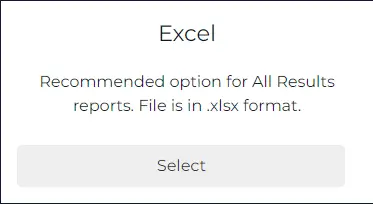
This is the native Microsoft Excel format. This will create an editable spreadsheet of values. This is particularly useful if you need to sort or edit data. You will probably only use this with the All Readings report type.
There is a 3rd option, CSV, that is only used by expert users.

When the file is created it will use this name as part of the filename.
e.g. Let’s say that you name the report “My Report”.
The file name will be something like 202408080000_My-Report.pdf
The first part of the file name is the date of the report, and the second part is the name you chose.

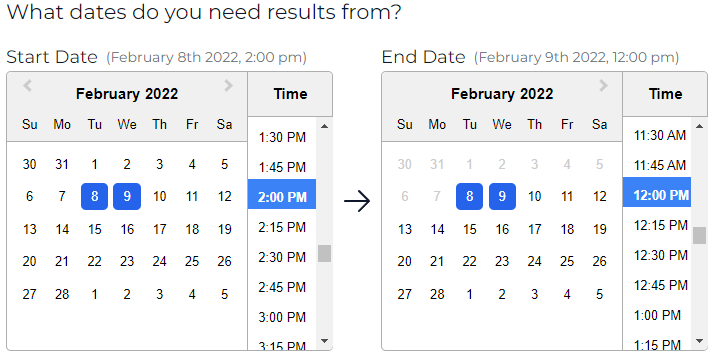
The calendar on the left is the date and time of the first reading of the report.
The calendar on the right is the last reading of the report.
In this example, the report will span two days from 2pm on the 8th until 12pm on the 9th.
Confirm the time zone
Once you have selected a date range, you will be asked to confirm the timezone.

You can choose to email the report to any of the users in your site. This is optional.
To select a user, click to place a tick next to them.

Whether or not you choose to email the report, on the next screen, you can download a copy straight to your computer.
Clever Logger is sold to government departments, public and private hospitals, and other large corporations. We understand that it’s often not possible to purchase with a credit card on a web site.
Call us on 1300 80 88 89 or send an email to [email protected] and we’ll send you a written quote. We are happy to send out most orders on receipt of a verified purchase order.


All prices are in Australian dollars and include GST

KEEP BATTERIES OUT OF REACH OF CHILDREN
Clever Logger loggers are intended for commercial use only. They contain small batteries. Swallowing can lead to chemical burns, perforation of soft tissue, and death. Severe burns can occur within 2 hours of ingestion. Seek medical attention immediately.
To prove it, we’ll send you a Starter Kit to try out for a whole month.
Set it up, have a play, explore the features – obligation free.
If you love it, just let us know.
If not, just send it back.

The National Association of Testing Authorities (NATA) is the recognised national accreditation authority for analytical laboratories and testing service providers in Australia. It is an independent, not-for-profit organisation that provides independent assurance of technical competence.
NATA accredits organisations to perform testing and inspection activities for their products and services. This gives consumers the assurance they need to make safe, healthy and reliable choices .
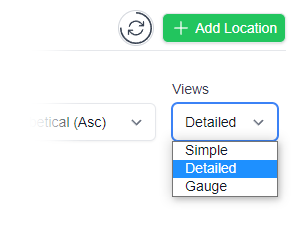
In the top right corner of the Location page, you will find the View chooser.
There are three options: Simple, Detailed and Gauge.
