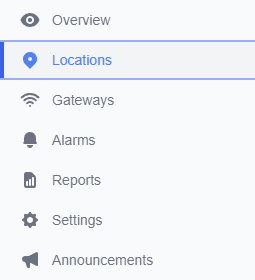
From your Clever Logger portal, click on Locations in the menu.
You will see a list of all locations currently in the system, if there are any.
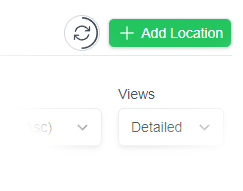
Click the “Add Location” button at the top right of the screen.
If you cannot see the button, then you may not have the correct role for the site. See the section on roles for more information.
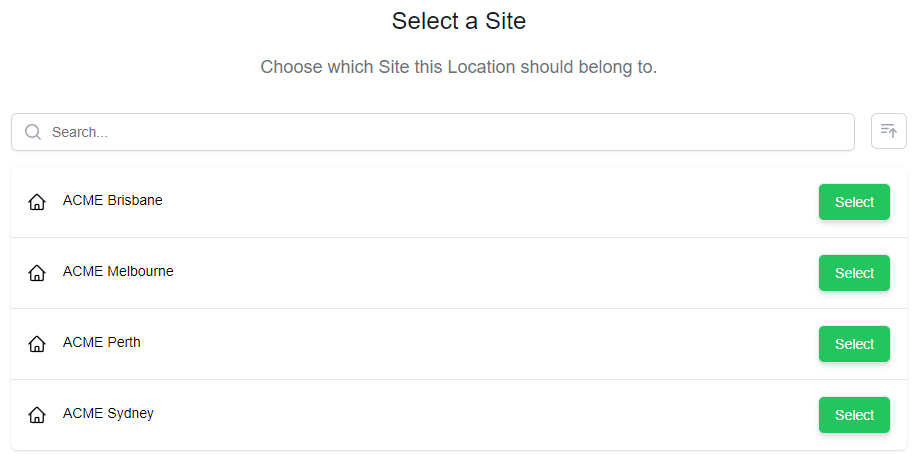
Select a site (optional)
If you have multiple sites in your organisation, you will be asked to choose which one this location should will belong to.
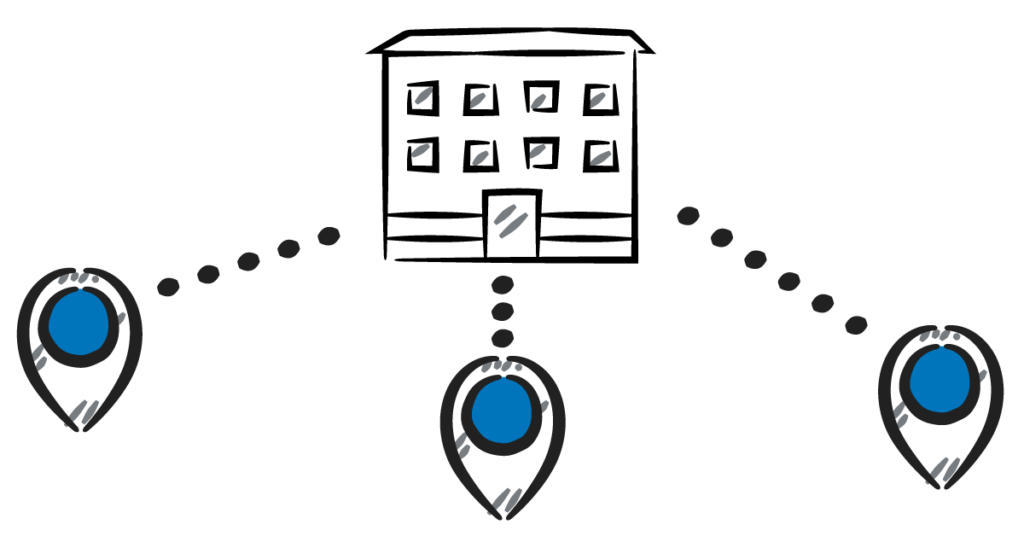
Sites are useful tool for managing larger organisations. They are used to:
Limit who can see what,
Limit what a person can do,
Manage reports
As a general rule, use sites if you have more than 10 locations, or if you have locations that are limited to specific people.
If you have multiple physical addresses, but only a couple of locations, our recommendation is to still have just one site and name the location to match the address.
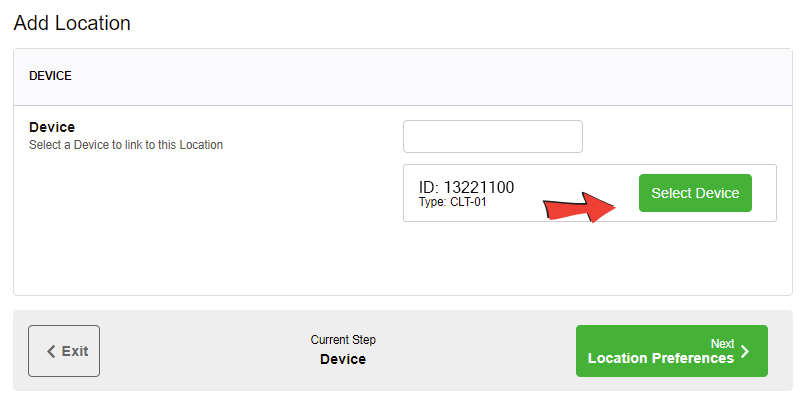
If you still don’t see the logger in the list, press the Show Configured Devices button. This will how all the loggers that your gateway(s) knows about, and have already been assigned to a location.
If the logger you are after is in the list, then you will need to unlink it from the other location and link it with the new location. Note that if you do this, the other location is not being logged. You will need to check to see if there is another logger that has been incorrectly identified there.
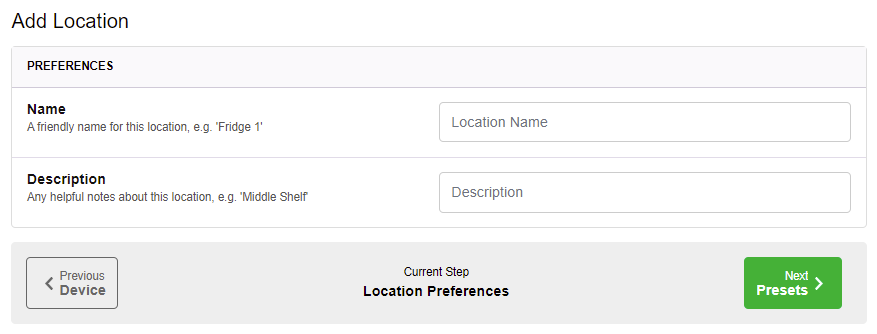
Name the location
Name: The name of the logger is anything that you will find useful for identifying it in the list and in reports. Examples of names may include:
The room number
The brand of the fridge
The size of the fridge
The shelf
The vehicle registration number
Description: The description is just there for you to use for anything you like. You won’t see it in most of the screens or in reports. It’s useful for storing information like when you purchased the logger or fridge, and any other comments you may want others to know about in the future.
Configure the logger
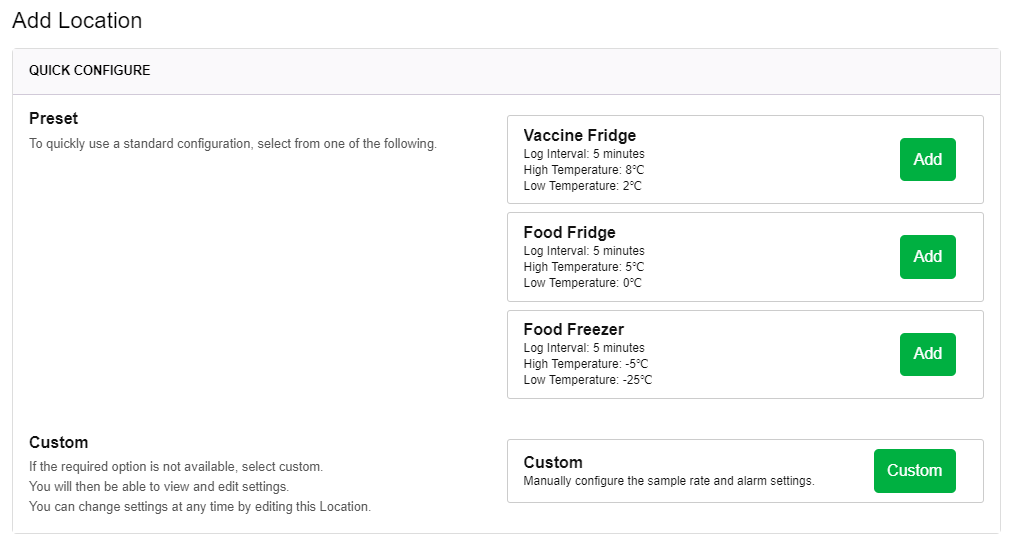
Presets
Presets help the majority of our customers quickly set up a new logger without having to know everything.
If the type of device you are trying to monitor is in the list then press “Select Preset“. This will set the log interval, alarm thresholds and notification groups to standard defaults. You can edit any of these settings later on.
If you don’t see the type of device in the list, or you want to customise the settings then select Custom.
Custom configuration
Instead of choosing a preset, you can elect to set each each item of the configuration separately. Click on the button below to view a detailed explanation of the settings.
This page focuses on adding a new location and glosses over the specific alarm settings. To read more about tailoring the logger’s settings to your specific needs, read the article linked below.
The National Association of Testing Authorities (NATA) is the recognised national accreditation authority for analytical laboratories and testing service providers in Australia. It is an independent, not-for-profit organisation that provides independent assurance of technical competence.
NATA accredits organisations to perform testing and inspection activities for their products and services. This gives consumers the assurance they need to make safe, healthy and reliable choices .
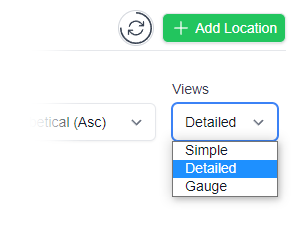
Location Views
In the top right corner of the Location page, you will find the View chooser.
There are three options: Simple, Detailed and Gauge.
Simple View
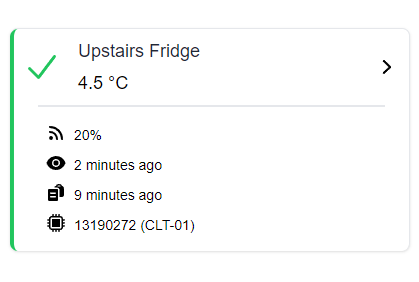
Detailed View
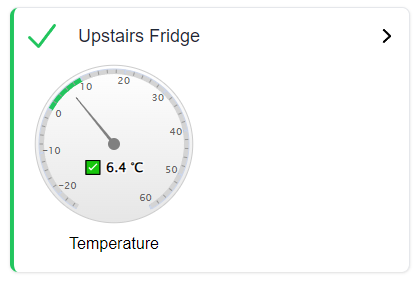
Gauge View
Logger with Dual Temperature Sensors
QUICK SPECS
Model
CLD-01
Type
Temperature only with Dual Sensors
Temperature Range
Internal sensor: -23°C to +60°C External sensor: -40°C to +80°C
Humidity Range
N/A
Battery Type
CR2450
Battery Life
Replace every 12 months
Accuracy
Internal Sensor:
±0.3℃ (0℃ to +60℃)
±0.3℃ to ±0.7℃ (other temperatures) External Probe:
±0.5℃ (-20℃ to +40℃)
±1℃ (other temperatures)
Offline Memory
approx 24 days logging at 5 minute intervals
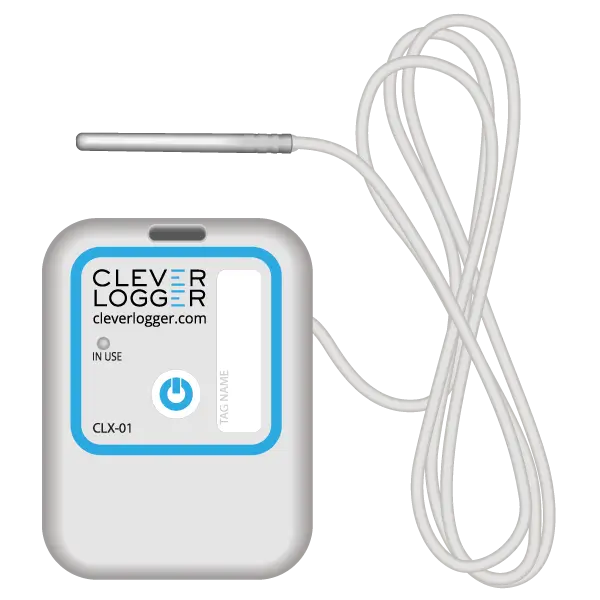
Logger with External Probe
QUICK SPECS
Model
CLX-01
Type
Temperature only with Probe
Temperature Range
-40°C to 60°C Can operate up to 80°C for short periods
Humidity Range
N/A
Battery Type
CR2450
Battery Life
Replace every 12 months
Accuracy
±0.5℃ (-20℃ to +40℃) ±1℃ (other temperatures)
Offline Memory
approx 24 days logging at 5 minute intervals
30-DAY FREE TRIAL
You're going to love Clever Logger
To prove it, we’ll send you a Starter Kit to try out for a whole month.
Set it up, have a play, explore the features – obligation free.