The National Association of Testing Authorities (NATA) is the recognised national accreditation authority for analytical laboratories and testing service providers in Australia. It is an independent, not-for-profit organisation that provides independent assurance of technical competence.
NATA accredits organisations to perform testing and inspection activities for their products and services. This gives consumers the assurance they need to make safe, healthy and reliable choices .
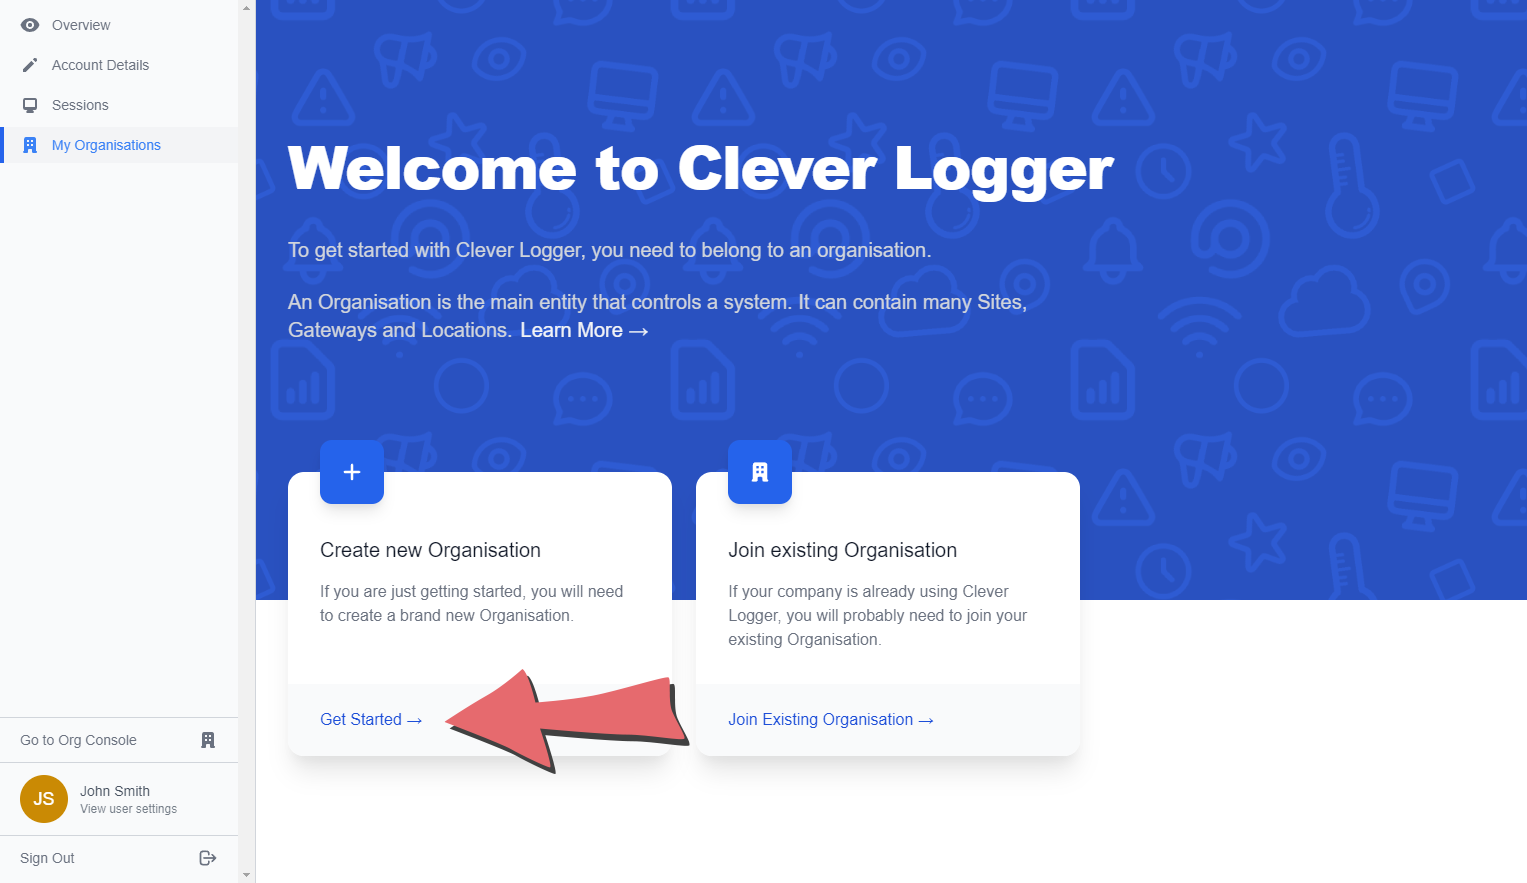
Location Views
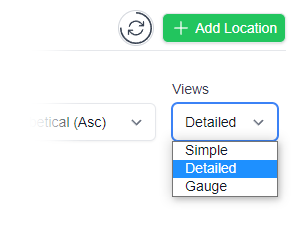
In the top right corner of the Location page, you will find the View chooser.
There are three options: Simple, Detailed and Gauge.
Simple View
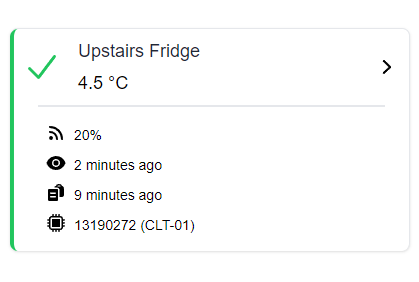
Detailed View
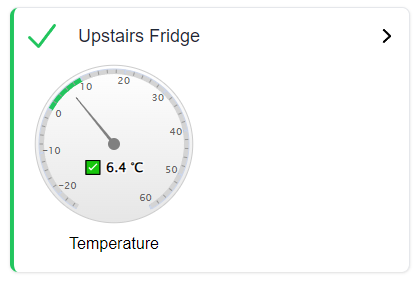
Gauge View
Logger with Dual Temperature Sensors
QUICK SPECS
Model
CLD-01
Type
Temperature only with Dual Sensors
Temperature Range
Internal sensor: -23°C to +60°C External sensor: -40°C to +80°C
Humidity Range
N/A
Battery Type
CR2450
Battery Life
Replace every 12 months
Accuracy
Internal Sensor:
±0.3℃ (0℃ to +60℃)
±0.3℃ to ±0.7℃ (other temperatures) External Probe:
±0.5℃ (-20℃ to +40℃)
±1℃ (other temperatures)
Offline Memory
approx 24 days logging at 5 minute intervals
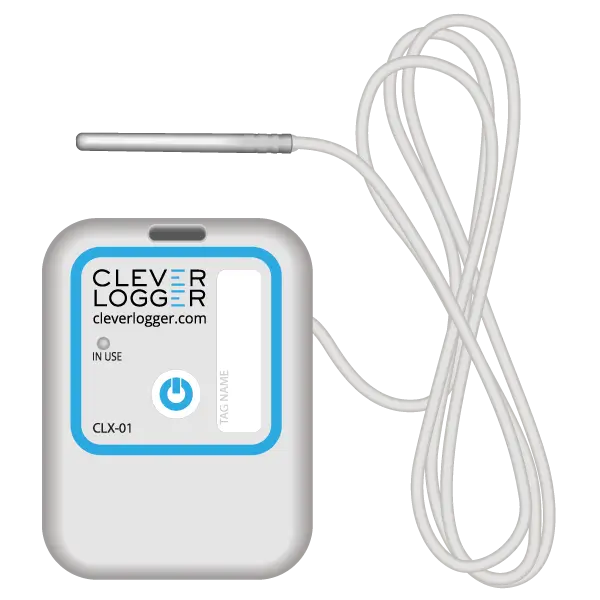
Logger with External Probe
QUICK SPECS
Model
CLX-01
Type
Temperature only with Probe
Temperature Range
-40°C to 60°C Can operate up to 80°C for short periods
Humidity Range
N/A
Battery Type
CR2450
Battery Life
Replace every 12 months
Accuracy
±0.5℃ (-20℃ to +40℃) ±1℃ (other temperatures)
Offline Memory
approx 24 days logging at 5 minute intervals
30-DAY FREE TRIAL
You're going to love Clever Logger
To prove it, we’ll send you a Starter Kit to try out for a whole month.
Set it up, have a play, explore the features – obligation free.