Back in the old days, temperature logging involved reading a thermometer and writing the result in a log book twice a day. It was pretty simple process.
Then came electronic temperature loggers that were meant to make life easier. But there was software to install and update, users to be trained, and data to be downloaded. Temperature logging had become more complicated, not less.
We knew there had to be a better way.
Clever Logger is different.
Traditional temperature loggers store data in their internal memory. This means that, in order to read that data, the user needs to regularly download the logger’s contents to their computer.
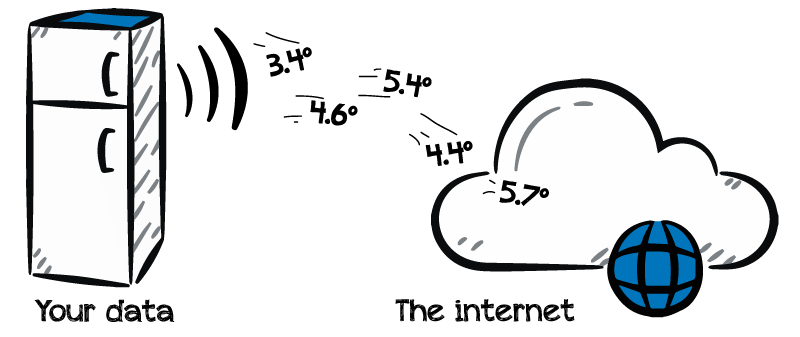
Clever Loggers save their data straight to the internet, so the temperature in your fridge or freezer is recorded and saved to the internet every few minutes.
Once Clever Logger is up and running, you don’t have to do anything. Nothing.
Let’s start with the basics – learning your way around the different parts of Clever Logger.
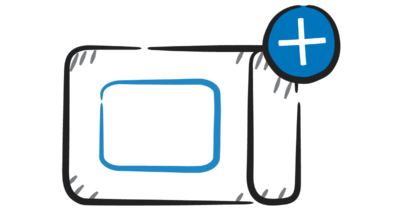
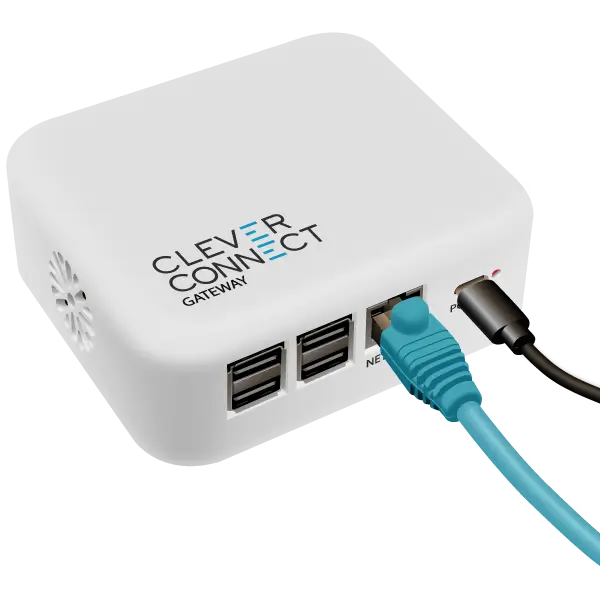
The gateway is the link between your loggers and the internet.
The gateway hears the data being broadcast by the loggers and saves it to your online account every few minutes, giving you a live log of temperatures.
Gateways need power and an internet connection – either with a network cable or using your office Wi-Fi.
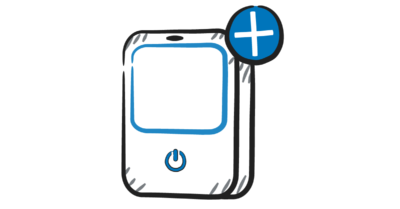
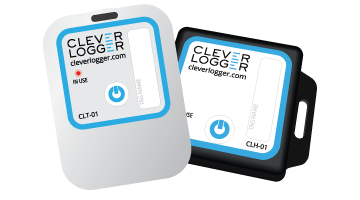
On the left is the temperature-only logger. On the right is the temperature and humidity logger.
The loggers measure the temperature (and humidity, depending on the model) and broadcast the readings using Bluetooth, like an iPod broadcasting songs to a speaker.
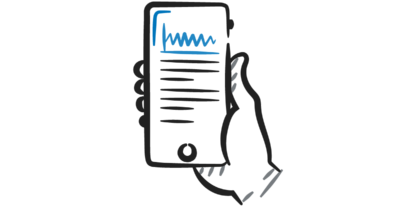
Every aspect of your Clever Logger system is managed through a special website we call the Dashboard.
Here you can add gateways and loggers, configure alarms, create reports and manage users. Because this dashboard is just a website, there’s no special software to install or update. You can log in on any type of computer using any browser from anywhere. You can even use a tablet or iPad.
The address is cloud.cleverlogger.com.
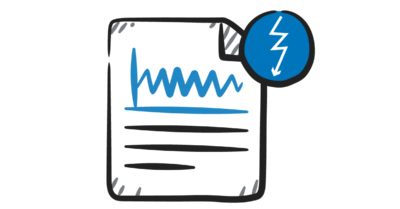
You can set upper and lower temperature limits for each of your loggers. For instance, with a vaccine fridge, you would set the lower alarm limit to 2°C and the upper alarm to 8°C. If the temperatures went outside these bounds you would be notified. You can also set alarms to notify you if the power goes out.
The Organisation is main entity that controls the account.
Clever Logger is really scalable. It works brilliantly for small organisations with just a single logger, but it is also capable of handling large organisations with multiple sites and multiple loggers at each site.
Organisation-level users have access to all the sites.
A site is a division within an organisation. It might be in the same building or on the other side of the country.
Each site can have different users with different roles. So users at Site A cannot see data from Site B, and so on.
Users are defined by their email address – each user must have a unique email address. This address is used for login and for notification.
Users can have different levels of access to the various functions of Clever Logger, ranging from Admin (who can do everything) to Viewer (who can only view results).
A Location is what we call a logger that has been started and configured. Before it is configured, it is just a device.
Just got your Clever Logger? Let’s get you set up.
Once you’re up and running, it’s easy to customise your Clever Logger setup
| QUICK SPECS | |
|---|---|
| Model | CLD-01 |
| Type | Temperature only with Dual Sensors |
| Temperature Range | Internal sensor: -23°C to +60°C External sensor: -40°C to +80°C |
| Humidity Range | N/A |
| Battery Type | CR2450 |
| Battery Life | Replace every 12 months |
| Accuracy |
Internal Sensor: ±0.3℃ (0℃ to +60℃) ±0.3℃ to ±0.7℃ (other temperatures) External Probe: ±0.5℃ (-20℃ to +40℃) ±1℃ (other temperatures) |
| Offline Memory | approx 24 days logging at 5 minute intervals |
| QUICK SPECS | |
|---|---|
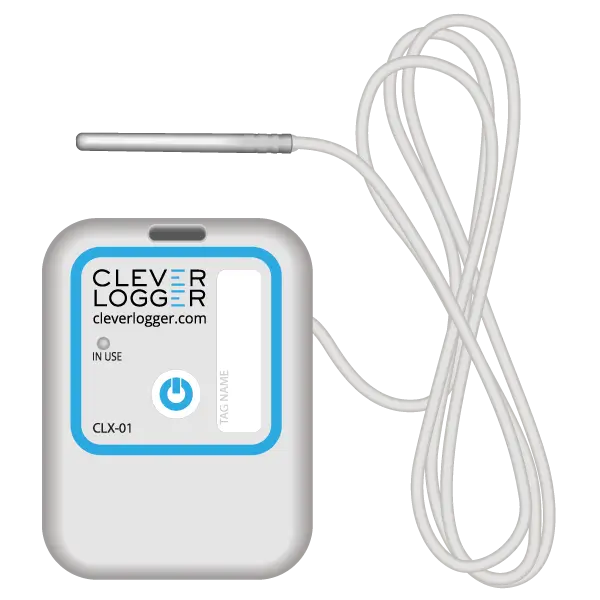
| Model | CLX-01 |
| Type | Temperature only with Probe |
| Temperature Range | -40°C to 60°C Can operate up to 80°C for short periods |
| Humidity Range | N/A |
| Battery Type | CR2450 |
| Battery Life | Replace every 12 months |
| Accuracy | ±0.5℃ (-20℃ to +40℃) ±1℃ (other temperatures) |
| Offline Memory | approx 24 days logging at 5 minute intervals |
To prove it, we’ll send you a Starter Kit to try out for a whole month.
Set it up, have a play, explore the features – obligation free.
If you love it, just let us know.
If not, just send it back.