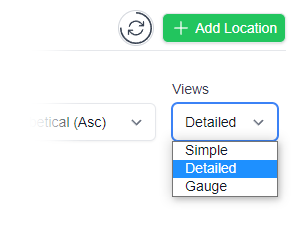
In order to connect the gateway to Wi‑Fi, we will need to enter the Wi‑Fi password into the Gateway. Since the Gateway doesn’t have a keyboard, we are going to use a mobile phone to connect to the Gateway using a Bluetooth® wireless connection so we can enter the password using the phone’s keyboard.
Any Apple or Android phone will do. An iPad will also work. You can uninstall the app when you are finished, if you like. You don’t need the phone to be connected to Wi‑Fi. You just need to have Bluetooth® turned on.
This is sometimes on a sticker on the bottom of your modem/router. Alternatively, you may need to ask your IT people to supply it.
If you’re not sure if the password you have is correct, you can try to connect your phone to the network first, using that password. If that works, the Clever Logger will normally have no problems.

The Clever Logger App is available for both iOS and Android.
Search for “Clever Logger” in the appropriate app store.


When you first open the app, you will see a form asking for your email address.
Enter your email address in the App. You will receive a email from Clever Logger with a six-digit authorisation code. Enter the code into the app and follow the instructions.
You only need to do this once.

IMPORTANT: If you have not yet added the new gateway to your account, see the instructions on this page.
Reboot the Gateway by pulling the power cable out and putting it back in. The gateway will boot up and go into connection mode.
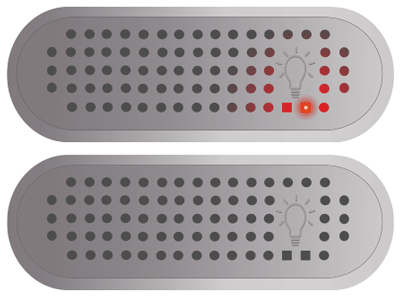
Tap the button on the App that says I just turned my Gateway on.
The app will search for the gateway details.
If the app does not find the gateway, reboot the gateway and try the process again. Make sure the phone is close to the gateway while trying to make the connection.
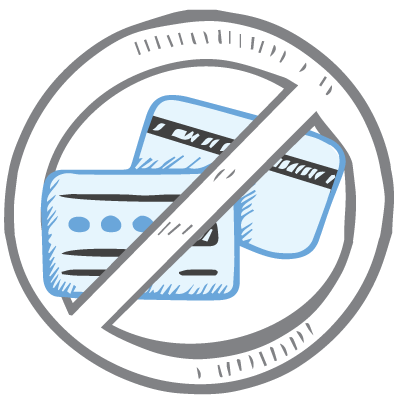
Clever Logger is sold to government departments, public and private hospitals, and other large corporations. We understand that it’s often not possible to purchase with a credit card on a web site.
Call us on 1300 80 88 89 or send an email to [email protected] and we’ll send you a written quote. We are happy to send out most orders on receipt of a verified purchase order.

All prices are in Australian dollars and include GST

KEEP BATTERIES OUT OF REACH OF CHILDREN
Clever Logger loggers are intended for commercial use only. They contain small batteries. Swallowing can lead to chemical burns, perforation of soft tissue, and death. Severe burns can occur within 2 hours of ingestion. Seek medical attention immediately.
To prove it, we’ll send you a Starter Kit to try out for a whole month.
Set it up, have a play, explore the features – obligation free.
If you love it, just let us know.
If not, just send it back.

The National Association of Testing Authorities (NATA) is the recognised national accreditation authority for analytical laboratories and testing service providers in Australia. It is an independent, not-for-profit organisation that provides independent assurance of technical competence.
NATA accredits organisations to perform testing and inspection activities for their products and services. This gives consumers the assurance they need to make safe, healthy and reliable choices .
In the top right corner of the Location page, you will find the View chooser.
There are three options: Simple, Detailed and Gauge.
