1. Add the gateway to your account
2. Connect power to the gateway

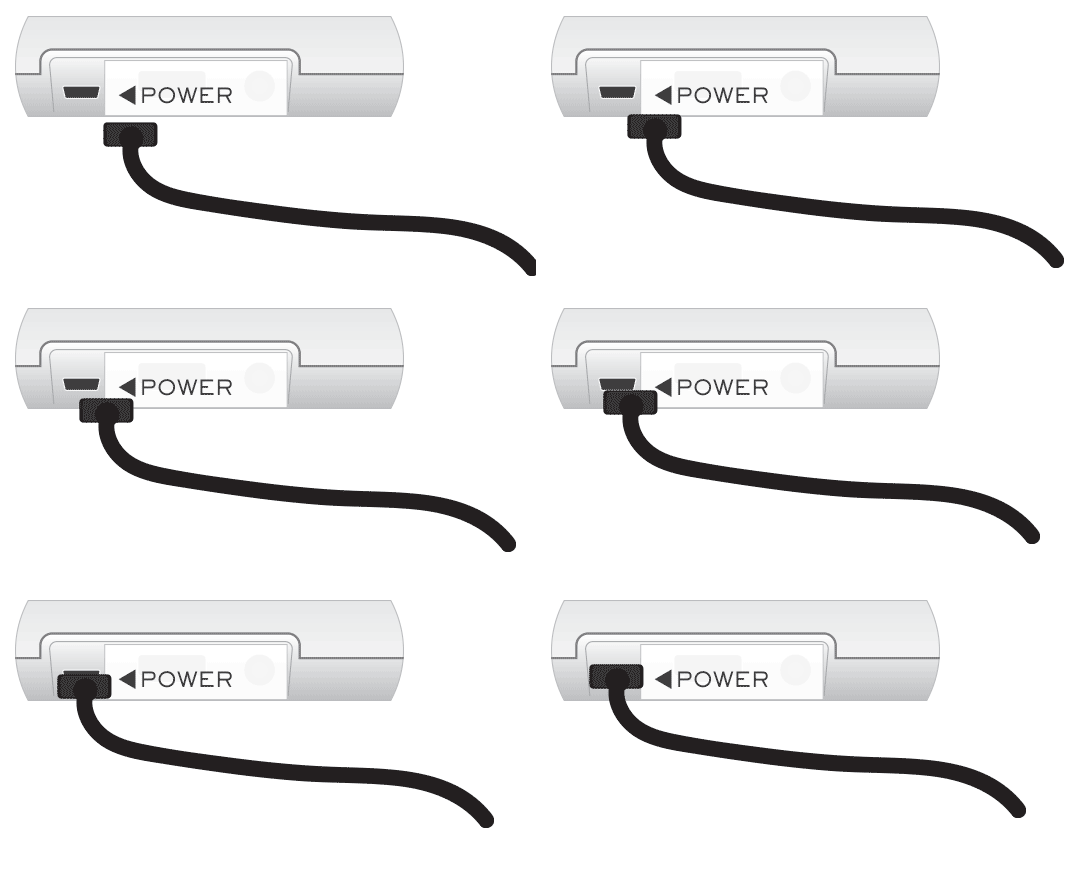
Plug your gateway power supply into a power point as close as possible to where the logger will be located.
Connect the power supply to this port on your gateway.
The gateway will take about 45 seconds to completely boot up.
3. Connect the Ethernet cable

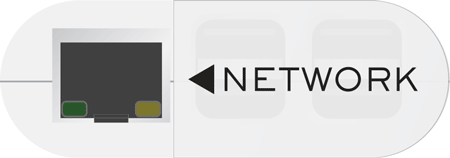
Plug the Ethernet cable into the network port on the gateway. Connect the other end to your office network.
If the gateway is able to successfully connect to the internet, you will see its “Last Activity” status change on the dashboard.

Troubleshooting
If the gateway does not connect, there can be a couple of things to check.
Is the Ethernet connection “live”?
When they build offices, electricians often include lots of network ports. All of these ports will have cables in the wall that run back to a central location.
BUT, these cables may not actually by connected to the internet.
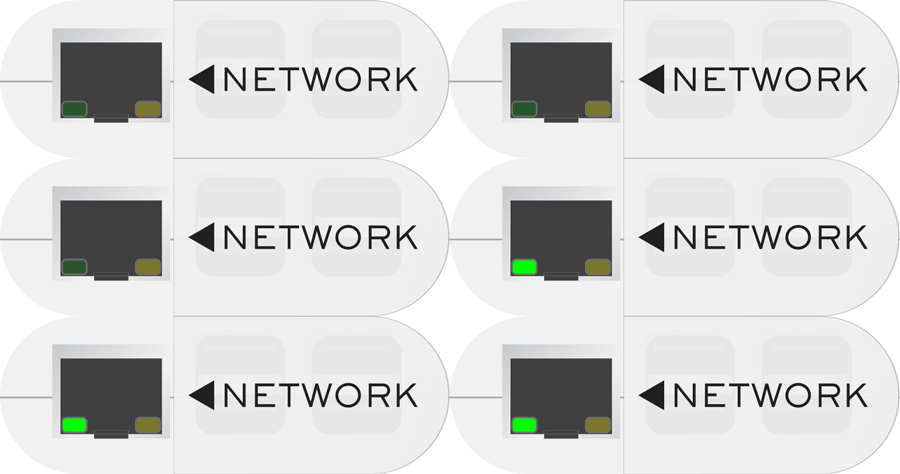
If the connection is live, you will see a flickering light below the gateway’s network port.

The light could be green or orange, depending on the speed of your network.
If you don’t see any lights, you will need to try a different network socket or ask your IT people to “patch” the port that you are trying to connect to.
Does your IT Dept have extra security in place?
It is possible to deny devices like the gateway access to the network for security reasons.
If you have lights on the gateway’s network port but it still won’t connect, your IT people might need to add some special rules to allow it to connect.